Notifications and email delivery
See which emails the app sent, retry a failed one, and choose how often you hear about each kind of event.
In this article
Check delivery
Open Admin › Settings, then the Account tab, then Notifications. The Delivery log tab 1 opens first.
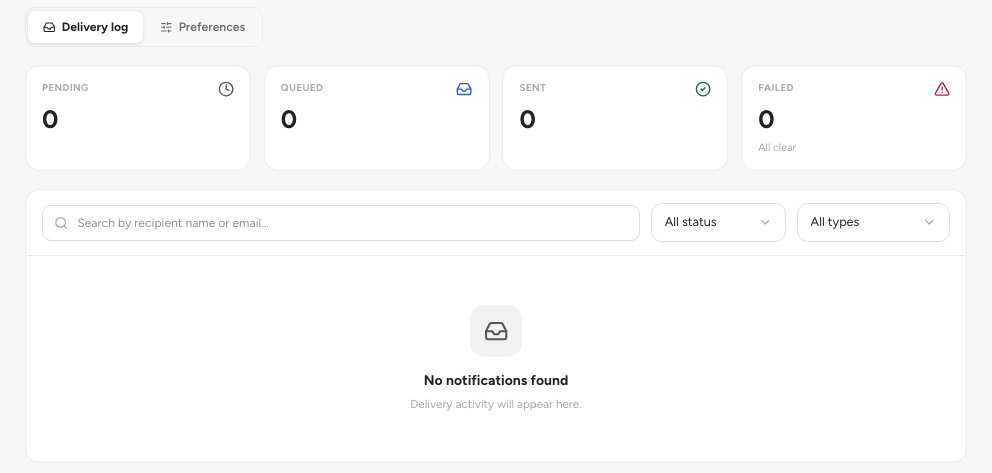
- Delivery log and Preferences tabs
- Counts by status
- Search and filters
The cards 2 count emails by status. Search by recipient name or email, or filter by status or type 3.
Click the eye on a row for Notification details. On a failed row, click the retry button to send it again.
Choose what you receive
Switch to the Preferences tab 1. Each kind of event has a switch 2 and a delivery setting 3.
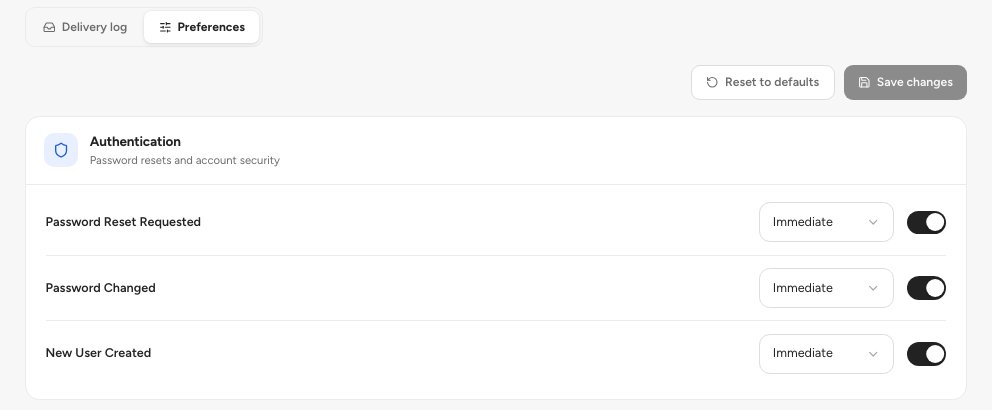
- Preferences tab
- On or off for this event
- Immediate, Daily digest or Weekly digest
Choose Immediate, Daily digest or Weekly digest. A digest gathers events into one email. Click Save changes when you are done.
To start over, click Reset to defaults and confirm with Reset settings. It turns every event on and sets delivery to immediate.
Tip — Use Send test email to check that your email setup works before you rely on it.
FAQ
Emails say Failed.
Check Email sender. If you connected your own mail server, its details may have changed.
What does the bell in the header do?
It opens your in-app notifications. This screen is about email.
Related guides
Was this helpful?